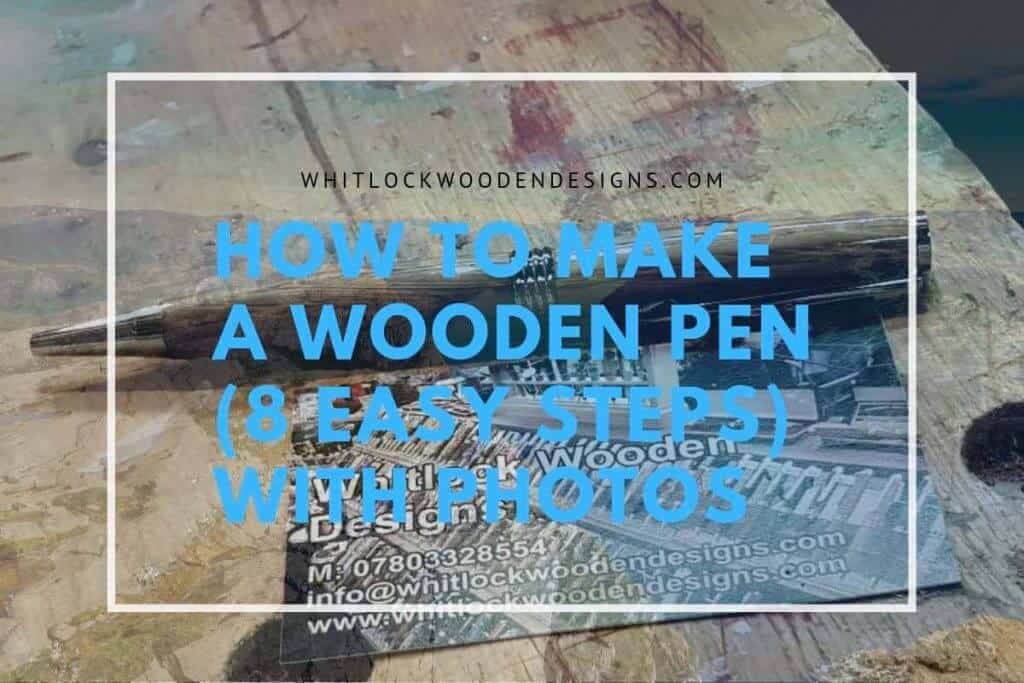
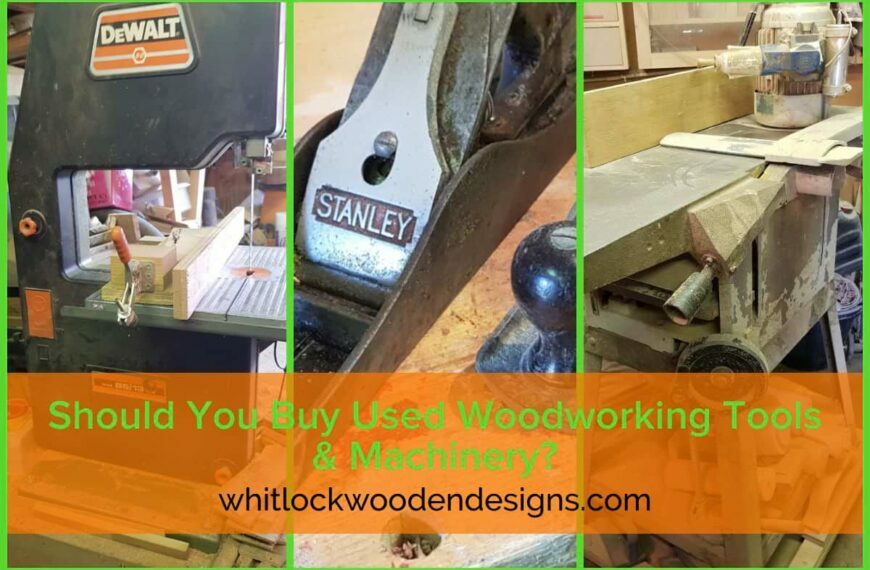
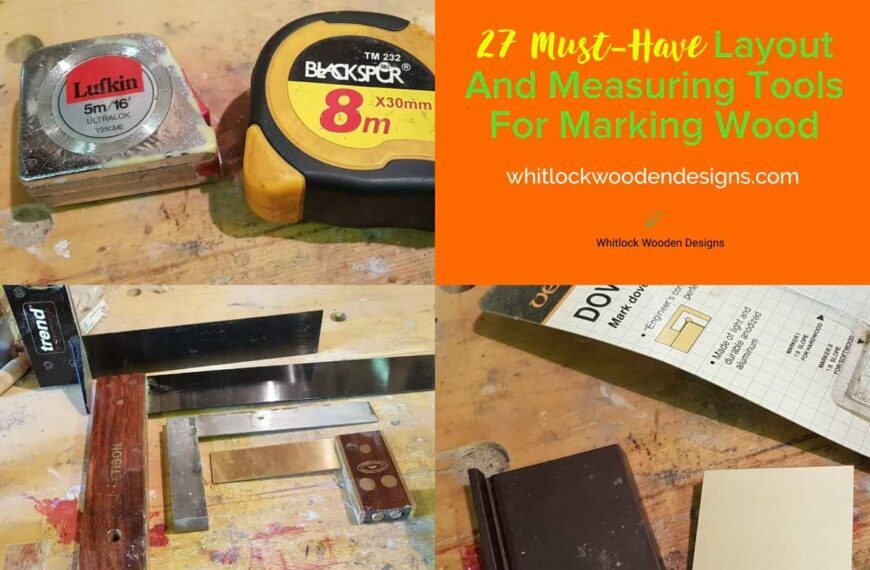
So you have been to a show or two and met the turning guy, Now you want to learn how to make a wooden pen. Well, fantastic news if you’re already a turner you can buy the equipment for less than the price of a gouge. This guide and photos should give some help in turning pens with all steps involved and turning supplies, materials needed.
Tools To Make One
- Lathe
- Drill
- Suitable Bits
- Bushes
- Mandrel
- Pen Mill
- Safety Gear
- Chisels/Gouges
- Sandpaper
- Saw
- Glue
- Vice
- Finishing Wax
- Assembly Press
The list of kit for making wooden pens. The biggest outlay is the cost of machinery and associated toolkit. If you haven’t tried woodturning, it’s a marvellous idea to try a turning club to learn and see if suitable. Pen turning is a great entry point for the craft with skill building and small projects. People already doing woodworking won’t require all the specialist gear; I just use basic stuff.
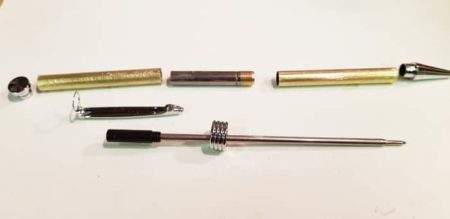
Choose Your Fittings
To start you will require some woodturning pen kits and directions for making. Slim line and Gatsby or its clones do not come with plans but you can download them as these Streamline pen kit instructions. With, high-quality kit from Penn-State or Rockler the directions are supplied.
What Is A Pen Blank
Pen blanks are the raw basic material used for turning wooden pens the ball point or fountain pen body. With wood pen blanks online a vast choice for any you can think of. You can use exotic timber from anywhere. Pen making a great way to try new woods for little outlay you can use in other areas.
How Long Are they? 150 mm by 20–22 mm, is fine for most designs. Watch the dimensions if you choose to make a bigger custom pen. It can work out cheaper to buy bowl or spindle blanks if you’re turning a lot of one type.
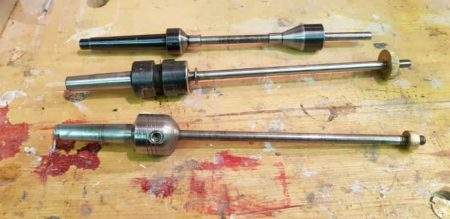
Pen Mandrels
A choice of different types is purchasable from wood turning supplies online with a selection of price points, Rotur universal priced at £25, Axminster evolution £40.
In the photo, both bottom two are adjustable with the ability to replace the rod. With the last two, you can either correct for length or add spacers.
Pen Bushings
Small cylindrical pieces that go on a rod on either side of the tubes. Bushes are specific to each of the pen making kits with exceptions detailed here.
A bush allows you to turn pens to dimension. Slimline bushes are all the same size. For others, we must read directions to see the location and dimensions of each. If you get hooked on this hobby, it will want a method to keep them separate and organized.
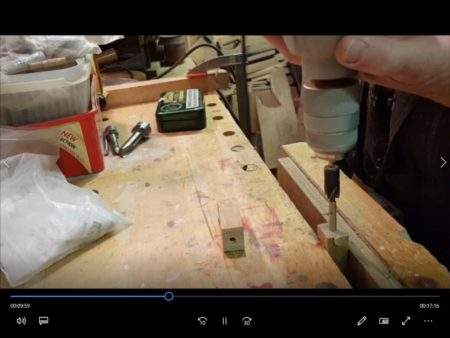
How To Drill A Wooden Pen
A method for drilling holes either a drill press or cordless. You can get a dedicated vice for pen making, though I use a regular machinist vice. Measure the brass with dial callipers and select a sharp brad point, make sure they are drilled from the middle of each part.
We can drill the holes on the lathe itself if you have suitable chuck jaws.
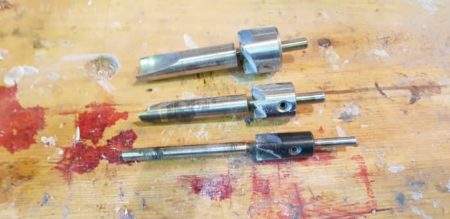
Trimming Blanks
Pen mills come in a variety of sizes with shaft and head interchangeable between them for most pens. Not everyone covered, this will require ingenuity on your part making jigs.
The bottom one pictured is great for the entry-level 7mm Streamline or slimline pen.
Sanding
For, wood grits from 120 through to 600. A box of grits available for pen turners or my personal favourite Mirka abranet. Regular paper needed to prepare the blanks followed by Micro-mesh for final polishing.
You can watch this video on how to make your first pen with each step covered in detail.
How To Make A Pen
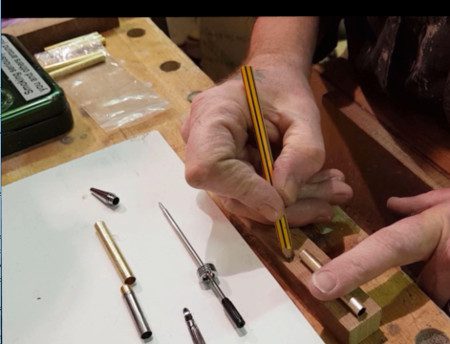
You need wood and a pen kit, place the tube on the blank and mark centre. Over to the bandsaw and cut it, mark out each part for centre alignment. Two lines across the middle for later alignment.
You can use a sledge or cut freehand, it will want squaring up later. The cheap plastic centre finders are only two pounds and good for normal, round stock.
Step Two
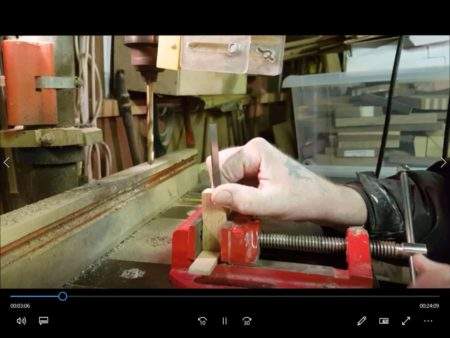
You can use an ordinary vice to clamp it, make sure the blank is drilled upright in both plains. Wood on the bottom stops blow out, do not force the drill bit through in one go. Work from the middle, and peck at it taking your time to avoid a blowout.
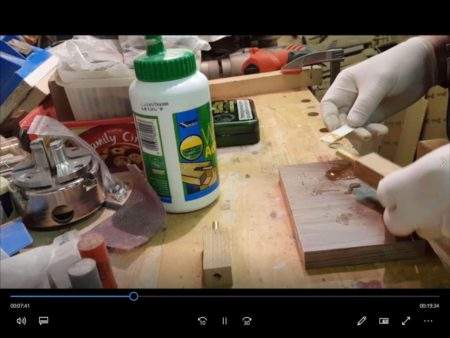
Step Three
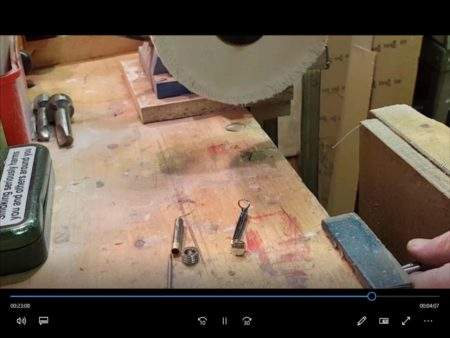
Key tubes before inserting them into the blanks. I use epoxy glue for acrylic and polyurethane glue on wood. I don’t use CA unless I have to cause it can fail. Rough up each brass tube and insert from the middle. Twist it as you push in and leave the glue to set overnight.
Once set simply use a barrel trimmer to trim each end, just till it touches brass and flush. Over enthusiasm will cause blanks to be cut short on a sierra type pen. You can do it on a disc sander, but it wants a Jig to hold the brass tubes. An ordinary fence isn’t good enough, it will square the wood to disc, not the tube.
Step Four
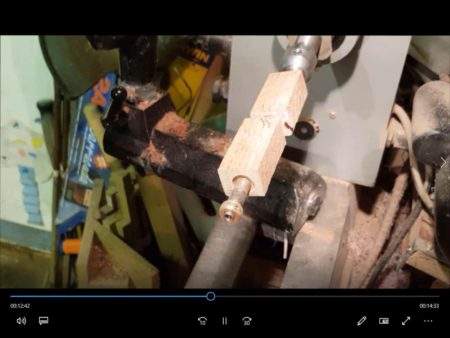
Once trimmed place on a pen mandrel with bushings and centre marks alined. You can adjust for length or use spacers, don’t over tighten on the mandrel. Push up tailstock and ease in the quill with the lathe on slow to centralize it then tighten. Just tighten up don’t bend the rod.
Preference for 19 mm Continental Gouges and 12 mm skew for pen turning. Start turning wooden pens with your lathe on slow, start from the middle out to prevent splintering. Once corners knocked off increase lathe speed and shape using a skew chisel for final cuts. The wood should be just shy of the metal for the next step, sanding.
Step Five
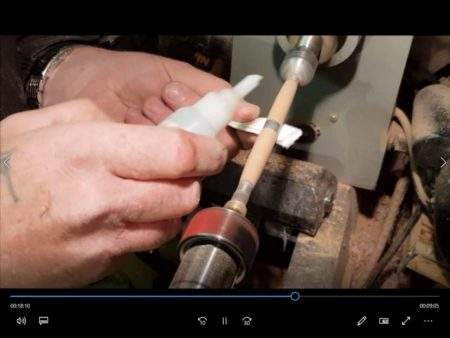
Start your sanding with 180 grit working through the grades. On dark woods stop and sand with the grain. Sand to 600 grit then with a kitchen towel apply two thin coats of CA. Allow a few minutes to dry between coats, build up with 6 coats of the medium on a pen made of wood.
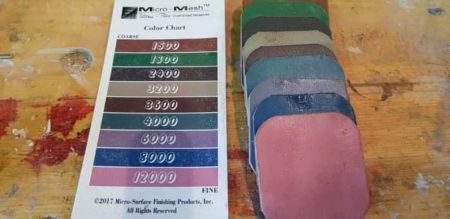
Step Six

When you’re finished with the CA glue, polish with micro-mesh. There are 9 grades up to 12,000 grit. They’re colour-coded just dip it in water, keep it wet while sanding. The wood needs cleaning between each grade, so you don’t contaminate them.
Step Seven
Now it needs assembly you can use a press or bench vice. Insert nib first, I use a piece of Corian to save my jaw linings. Make sure it’s perfect and straight if not it will break.
There should be a smooth transition between hardware and the handmade wood pen’s body. Twist mechanism next, making sure the action works before you push home. I go in past the yellow metal and check the fit before I assemble anymore. Now check fit and adjust as required. When the bottom assembled push centre ring on, it’s tight till past ridges.
Do the top in the same way and push the top piece onto the bottom, line grain up for effect.
Conclusion
To make a turned wood pen is easier than it looks. Wood turning no problem what sets a good writing pen apart and stand out above others is fine details. Quality turning supplies, figured or exotic wood, finish and grain running through both sections, just little details when you make a wooden pen. If you have any tips or advice maybe I forgot something? Please leave your comments.
If you look around for pen-making help and advice, lots of forums, with IAP the biggest. For more advanced pen-turning techniques, you might find the articles below interesting. Don’t forget videos on YouTube as a resource.

"I like to make things. I'm not a super handyman or anything, but I've always been interested in woodworking and other DIY projects. I find that if I have something in my hands, I can solve difficult problems better than if I am staring at a computer screen or reading about them on the internet." There is only so much furniture and art you can fit in a house, and giving to family and friends only lasts so long, so here we are with a crafts shop.
I enjoy writing about my projects and other topics related to crafting, like making something with your hands.

This is very informative and interesting post.
This is a great and simple wooden pen project. Thanks for the detailed steps and the pictures and video really help.
Thanks, glad it helped ☺️