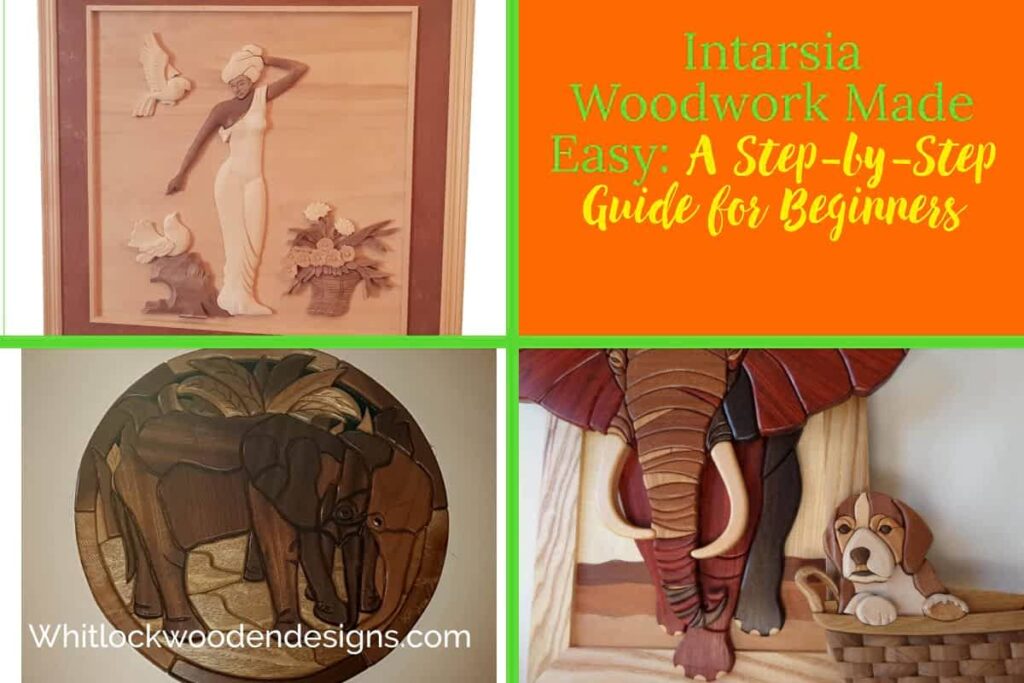
You have seen some amazing woodwork online and in magazines and thought, “I could never do that.” But what if I told you anyone could create beautiful wall art with simple tools and techniques?
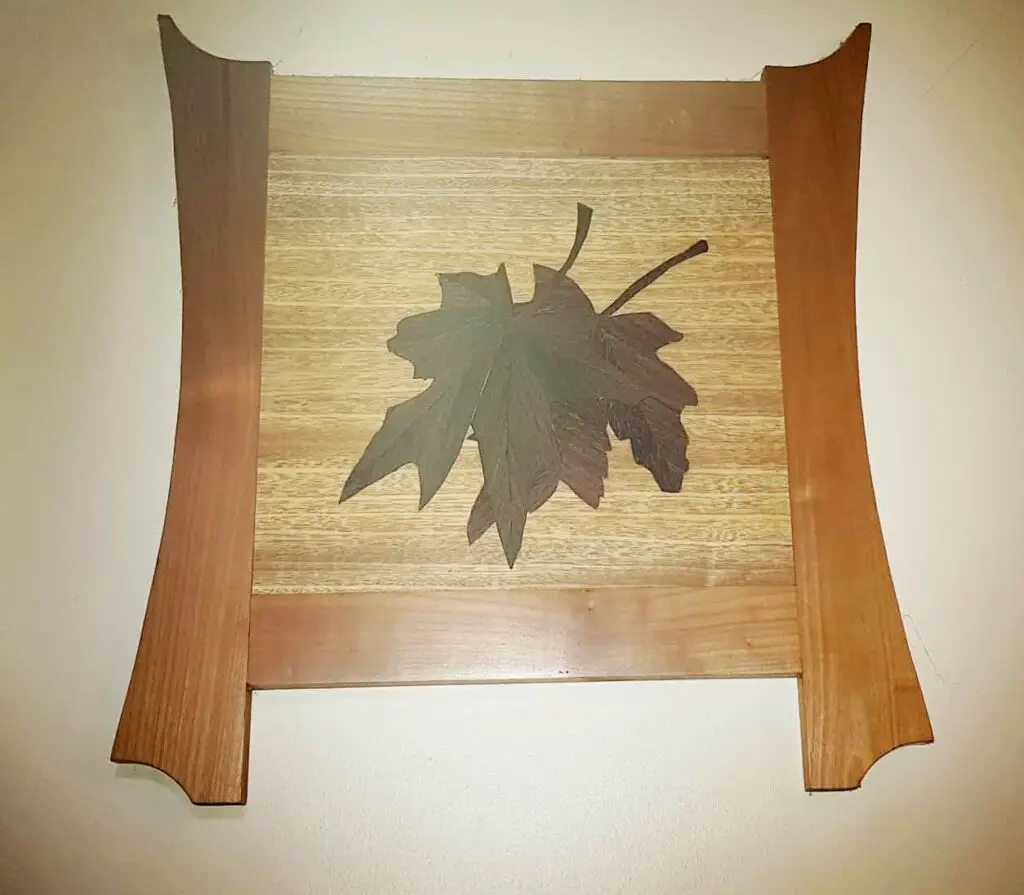
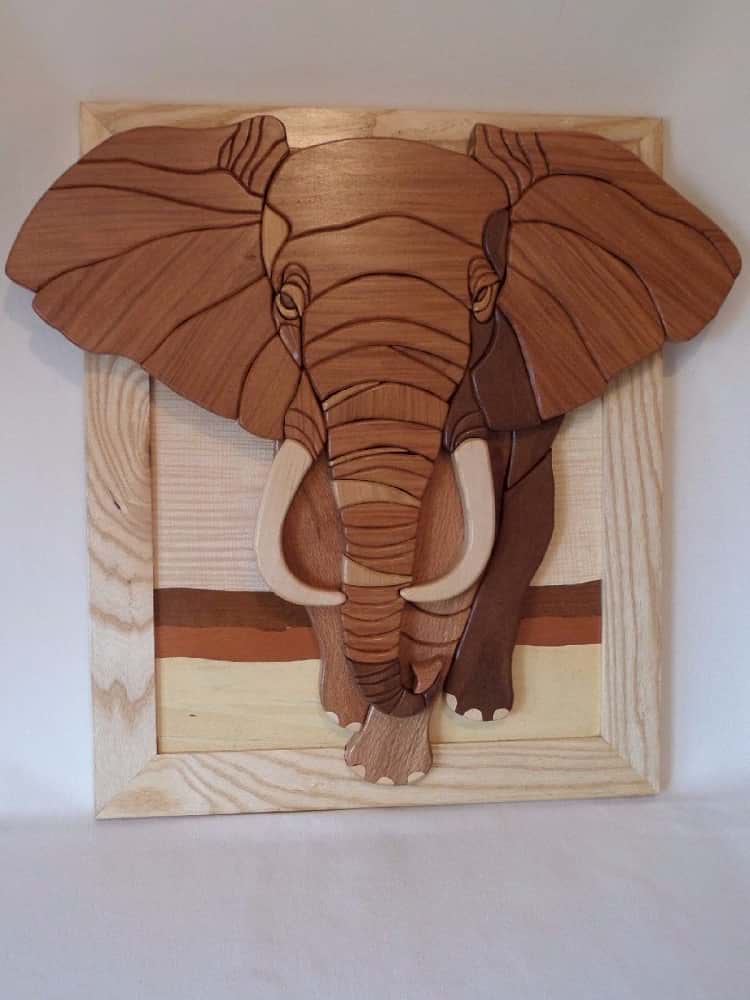
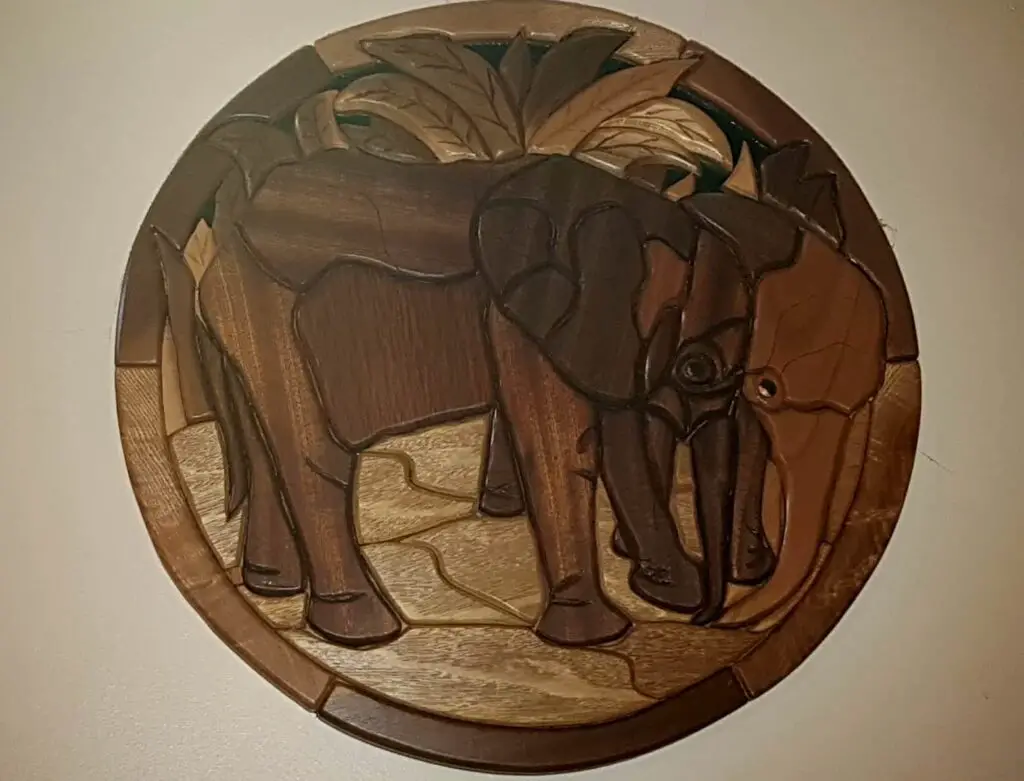
In the art of intarsia, several different colors of wood pieces are fitted together, making patterns or pictures. It’s similar to mosaics or puzzle-making but with wood instead of tile or card. This guide will teach you basic intarsia woodworking for beginners, from wood selection to finishing.
The truth is, anyone can create a stunning intarsia project with a little bit of practice.
What is intarsia woodworking?
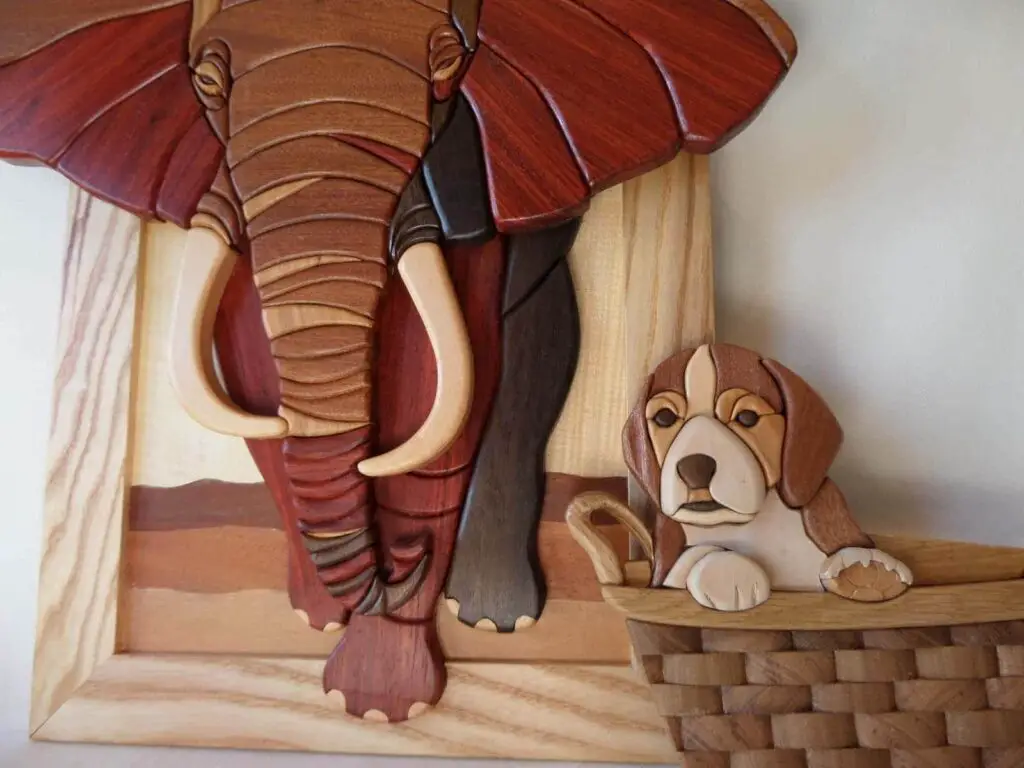
Wood intarsia inlays sections of wood to make a pattern. Different types of wood are selected for their colour and figure. Then cut with a scroll saw or jigsaw and shaped with belt sanders or sanding blocks. The sections are then inlaid together to produce an intricate pattern.
A template may help guiding the cuts depending on the woodworker’s skill level. The illusion of depth is created using wood to vary the thickness and give a 3D effect. The final assembly is then glued together, forming a stunning mosaic picture.
A brief history of intarsia woodwork
The history of intarsia has its origins in early 7th-century Egypt. It was popularized in 13th-century Renaissance Italy through African trade routes. Marquetry and wooden inlay are similar to intarsia in placing shaped stones, bone, and mother-of-pearl. After about 1620, marquetry was overtaking intarsia. Sometimes the lines between the three become slightly blurred as to what is what. Egyptian tombs, Roman furniture, and Byzantine churches have examples of intarsia.
With industrialization and mass-produced furnishings, intarsia fell from favour. The word “intarsia” derives from the Italian word for inlay “intarsio”.
In the 1980s, intarsia was made popular again by artists like Kathy Wise, Judy Gale Roberts, and her father, Pat Dudley Roberts. A celebrated artist Kathy has been sculpting dogs and animals professionally for over 25 years. Judy has also created numerous intarsia pieces featured in galleries and exhibitions. All three of them contributed to wooden intarsia’s surge in popularity.
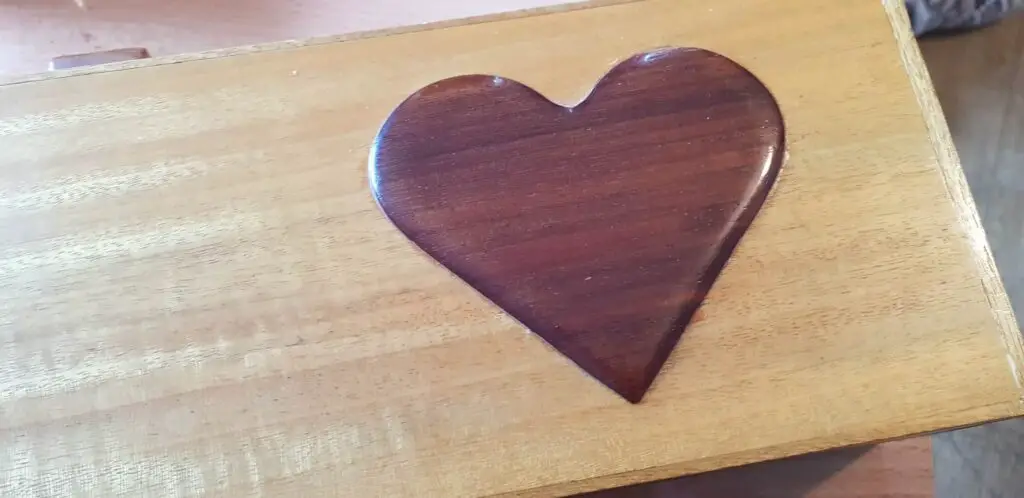
Technology now simplifies developing patterns, so more accessible than ever. Intarsia is used to make beautiful furniture, boxes, picture frames and wall decor.
Learn about different species of wood
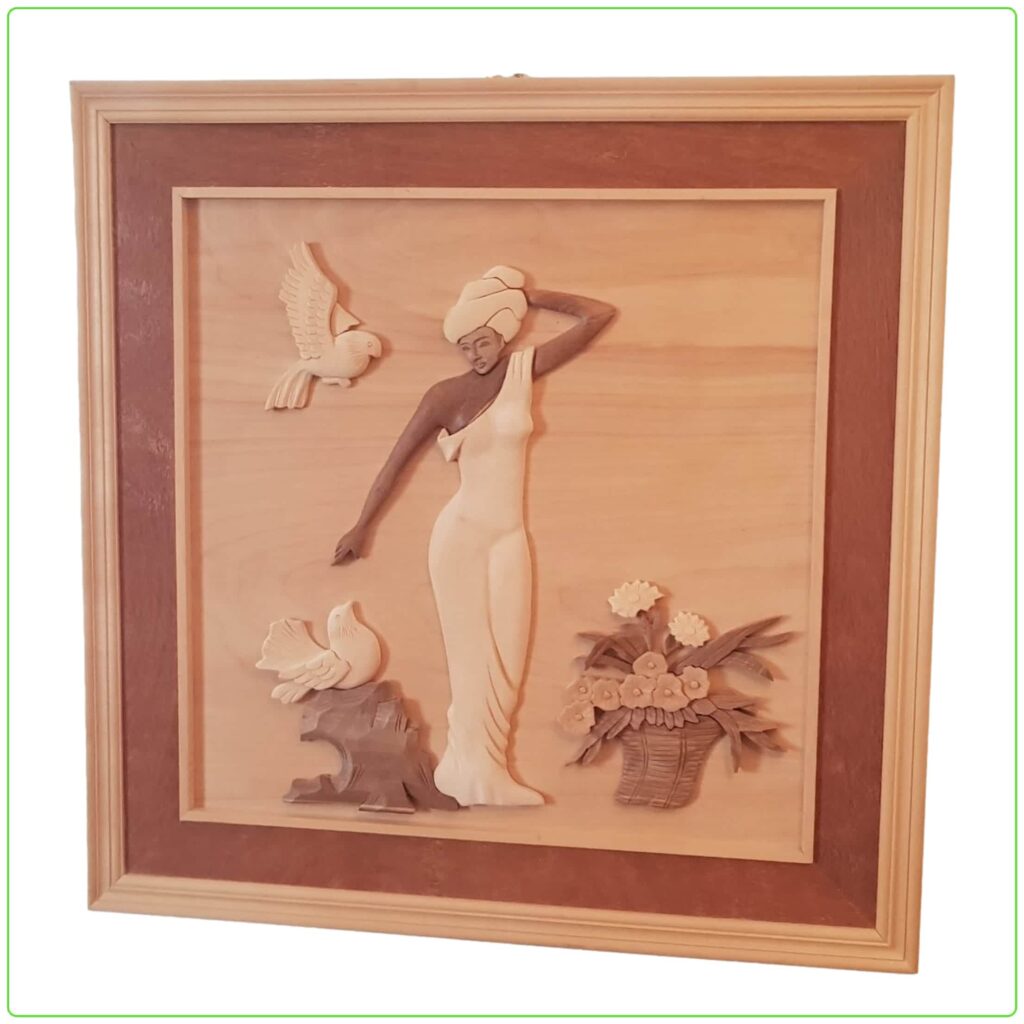
One of the benefits to intarsia artists is the wide range of wood species available. Beginner woodworkers learn how to use each species’ qualities for elaborate patterns. Each genus has its own unique texture and beautiful colour, adding depth and richness to your masterpiece.
Wood may be stained and finished in many ways, allowing you to personalise your projects. For novices learning intarsia skills, wood is simple to get and cheap.
The different sorts used for intarsia wood include.
| Type of Wood | Color Characteristics |
|---|---|
| Mahogany | rich reddish-brown hue |
| Bubinga | orange-red hue |
| Paduak | bright reddish-orange hardwood |
| Pink Ivory | pale pink to light brown with a fine, even texture |
| Red Oak | pinkish-reddish hue |
| Cherry | reddish-brown hue |
| Alder | creamy golden hue |
| Beech | lightish brown-colored |
| Bloodwood | orange-red color |
| Basswood | soft, light-colored wood |
| Aspen | white-colored heartwood |
| Sycamore (Sapwood) | off-white color |
| Pau Amarillo/Yellowheart | bright yellow hardwood with a fine, even texture |
| Poplar (Sapwood) | yellowish colored |
| Butternut | golden-colored wood |
| Ash (Sapwood) | grayish-brown hue |
| Ash (Heartwood) | dark grayish-brown hue |
| Sycamore (Heartwood) | light brown colour |
| Wenge | chocolate brown to black with a distinctive, bold pattern |
| Hard Maple | strong, hard wood that can be stained easily |
| Curly Maple | unique swirling pattern |
| Lacewood | distinctive figure and beauty |
| Purpleheart | dense with a natural vibrant purple |
| Walnut | dark brown with occasional swirls |
Woodworking techniques
Crafts people use wood inlay, carving, cutting, and sanding techniques for detailed creations.
Inlay creates a hollow and inserts a piece of wood, metal, or other material to form a design. This method decorates tables, floors, and musical instruments.
By removing layers of wood, carvers produce three-dimensional sculptures. This can be done with various tools such as chisels, gouges, and knives. Chairs, architecture, and sculptures typically have detailed carvings.
Sawing, drilling, and routing are examples of cutting wood. These procedures shape wood, construct joints, and cut out sections for inlaying.
Sandpaper or other abrasives smooth and polish surfaces. To prepare for finishing, rough areas, scratches, and defects are removed. Start with a coarse grit and progresses to finer grits for a smooth finish.
These techniques require skill and precision to achieve the desired results. Woodworkers can build beautiful designs by combining various methods.
What are some tips for creating intarsia artwork?
Making intarsia wall art can be a fun and rewarding experience. Here are some tips and tricks to help you get started:
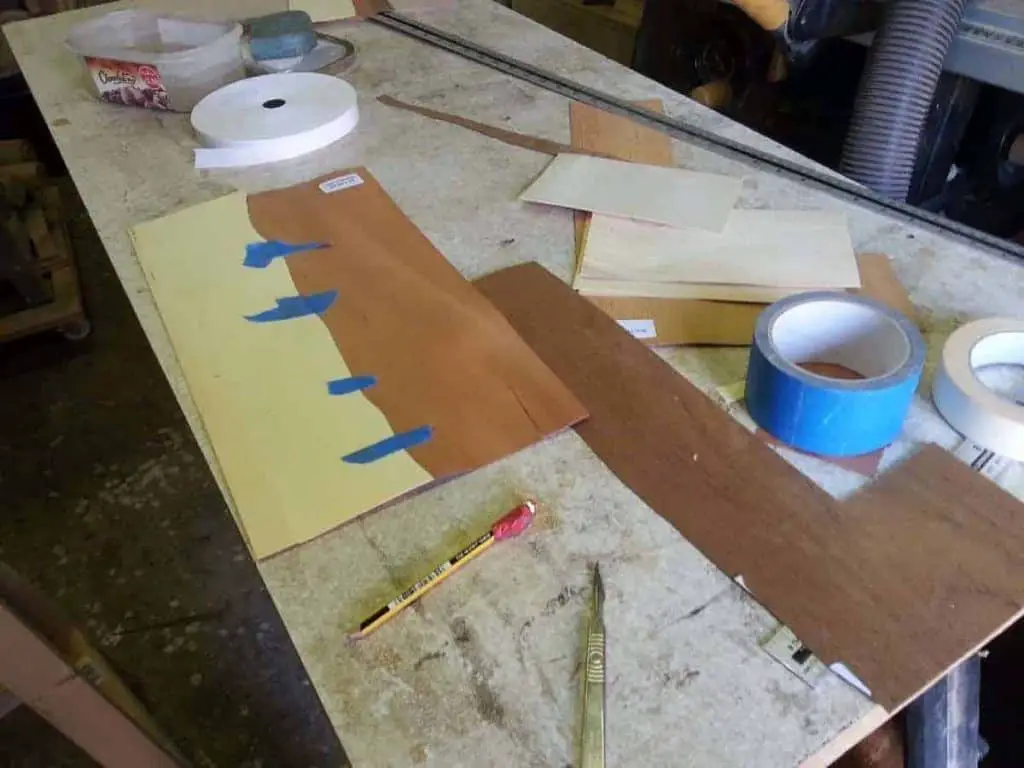
Choose a pattern. Full-size patterns illustrate grain direction and what wood to use. Whatever you do, don’t use the master pattern; make a few copies. Apply sellotape over the lines; it will lubricate the scrollsaw blade cuts later on 👍
- Select the woods you want to use. You can pick any sort for original designs, but pick bright or contrasting colors that enhance your project. Stick the pattern on the surface with a craft glue stick.
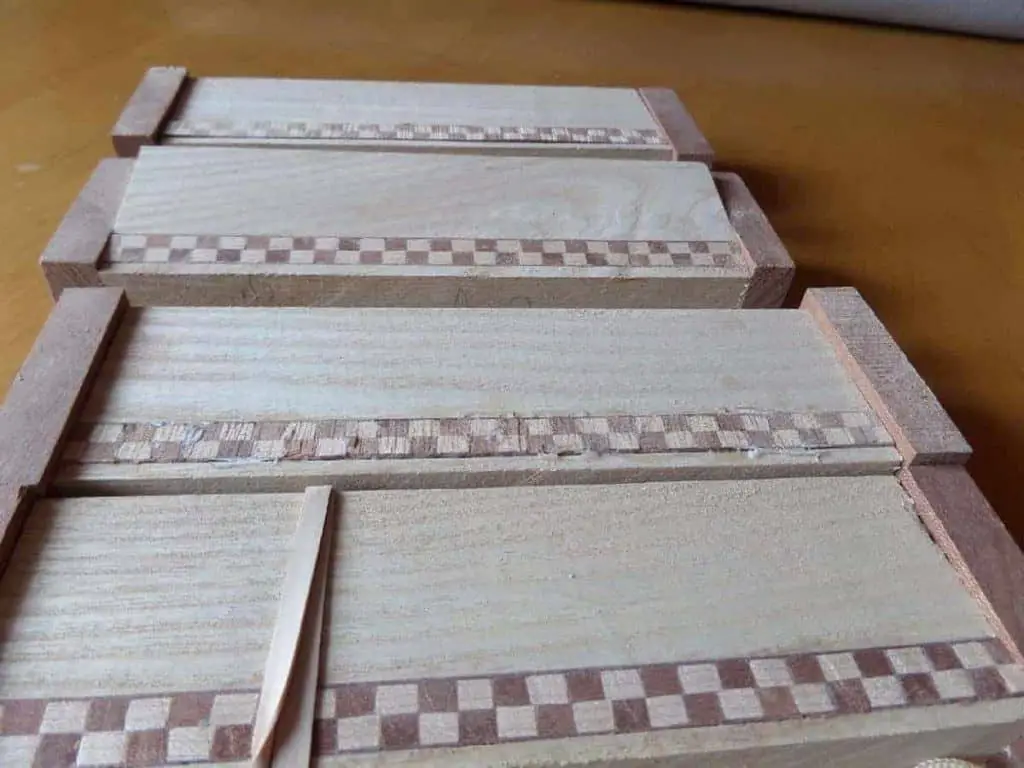
- Orient the material and saw it into individual pieces. Use a band saw or scroll saw with a reverse teeth blade to prevent splintering and cutting to the lines.
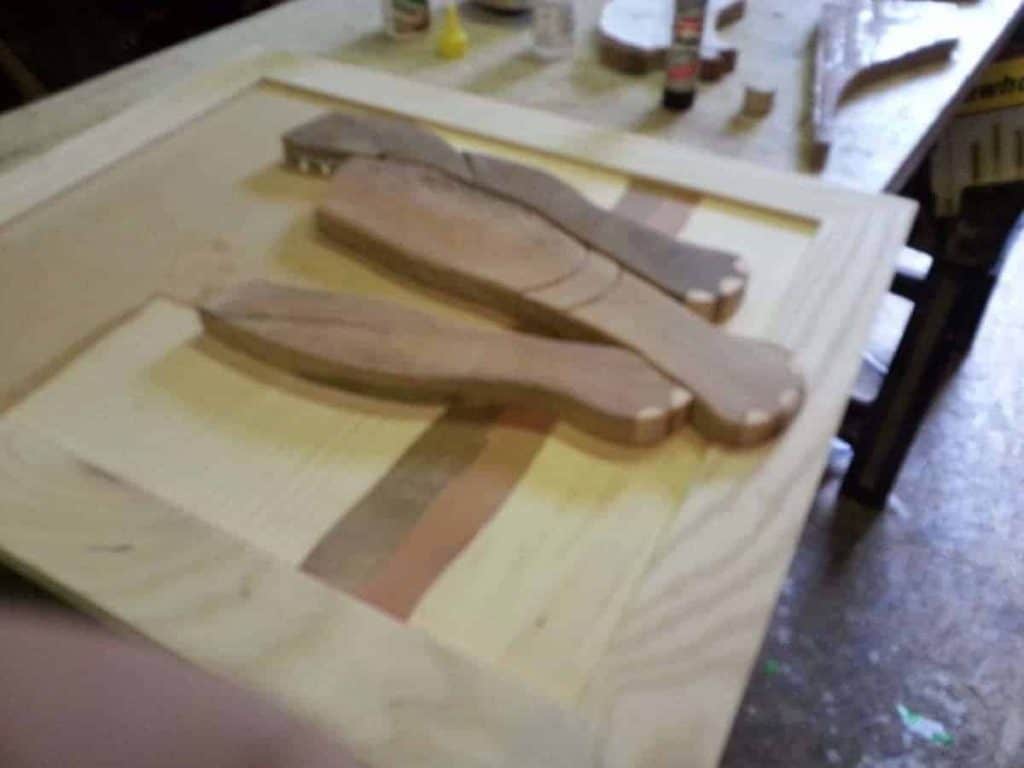
- Items should be sanded and worked until they fit snugly against one another. Take your time getting this step right so your finished piece comes out tight fitting.
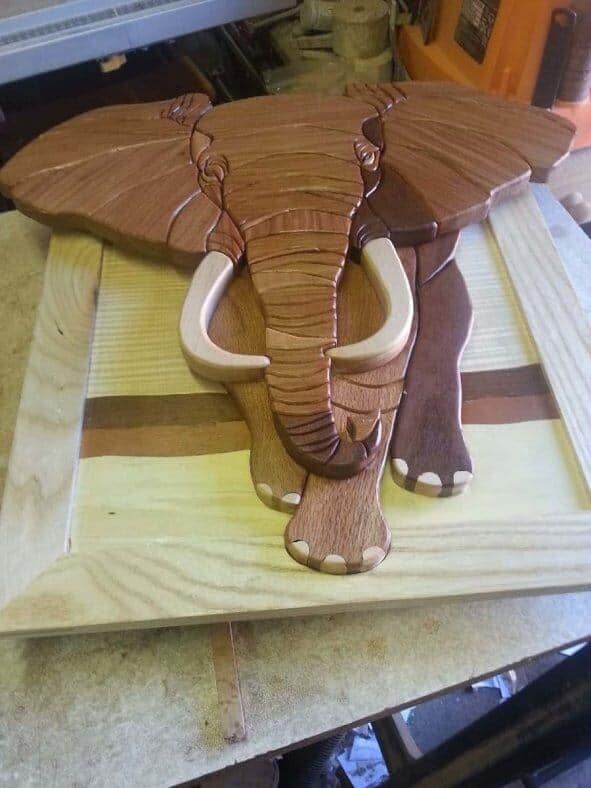
- In order to make intarsia really come alive, it is essential to contour the edges.
- Stick the pieces together. Use epoxy for exotic lumber and regular PVA wood glue for anything else. If using PVA, apply pressure with small bags of sand. A second method for speed is spots of PVA and superglue on the same piece.
- Apply a finish – This can be a simple lacquer or a multi-step finishing process.
When it comes to stains, your choice of wood determines the sort of stains needed, if any. Most popular intarsia projects can be completed without the use of dye. Hardwoods come in various natural hues, so dyes are not needed for beautiful intarsia art. If a more vibrant look is desired, they can be employed to add a splash of color to make it pop.
By following these steps, you can produce stunning intarsia artwork with ease. Good luck!
Where can I find intarsia wooden patterns for sale?
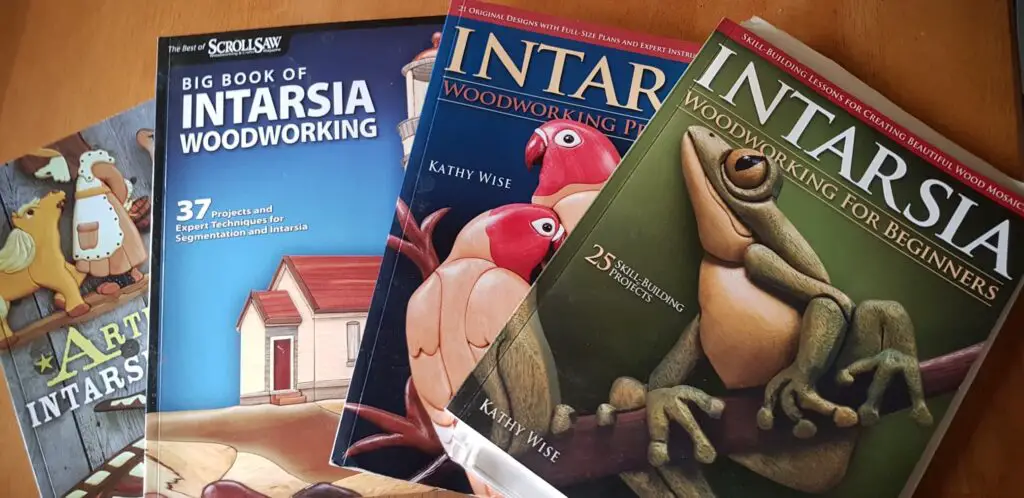
You have a few options if you are looking for full size wooden intarsia patterns for sale. You can download from the internet, subscribe to a magazine, or look for patterns at your local supply stores. Another option is to buy patterns from woodworking websites or from forums. There are also plenty of books that contain intarsia patterns.
Intarsia pattern books
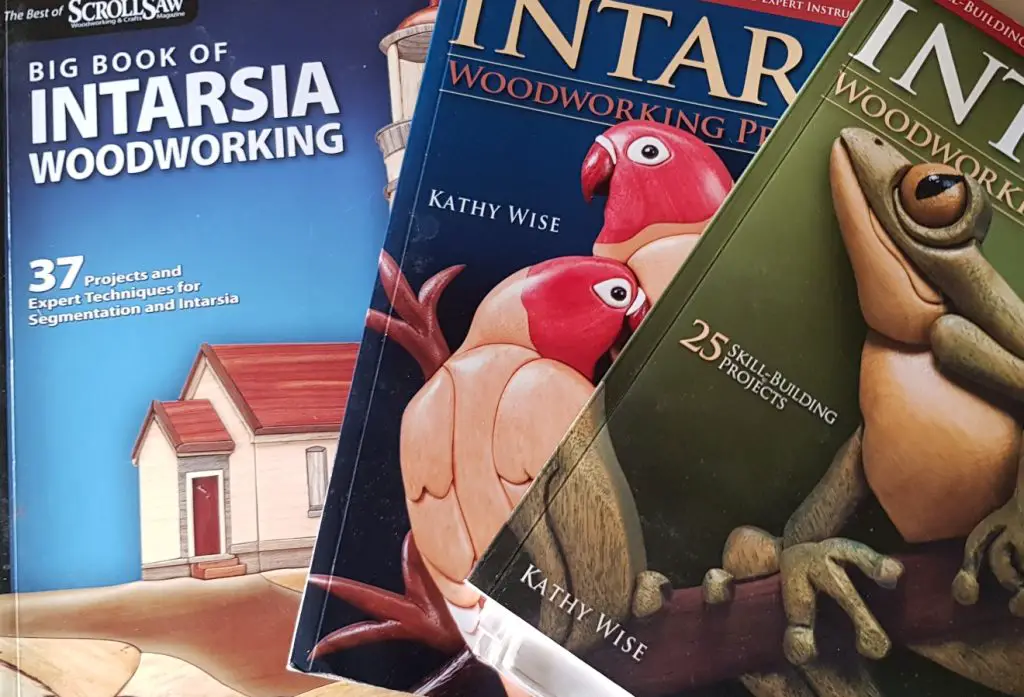
Find plans for wildlife animals, landscapes, flowers, abstract, and religious symbols. Many of these patterns are often sold with instructions and/or videos.
How to make intarsia patterns
Building an intarsia pattern demands forethought and precision. Decide what you want to craft; it could be a wild animal, landscape, or any other image that inspires you.
Methods include sketching, tracing or image editing tools like Adobe. Personally, I like the rapid resizer website.
Break the image into individual parts that can be removed and assembled like a puzzle. Each part should be distinctive in form and colour to produce the final picture.
Transfer the pattern with carbon or tracing paper.
"I like to make things. I'm not a super handyman or anything, but I've always been interested in woodworking and other DIY projects. I find that if I have something in my hands, I can solve difficult problems better than if I am staring at a computer screen or reading about them on the internet." There is only so much furniture and art you can fit in a house, and giving to family and friends only lasts so long, so here we are with a crafts shop.
I enjoy writing about my projects and other topics related to crafting, like making something with your hands.
