Drill bits are used for drilling into timber, steel, masonry and plastic. When cutting into tough materials like hard concrete or brick paving stones, a sharp drill bit is your perfect option. You should sharpen them regularly, making things easier on yourself and the twist bits.
We go over how to do that in this blog post, along with helpful advice for around the house so you don’t end up badmouthing your toolbag. A bad craftsman blames his tools after all.
What Is A Drill Bit, And Why It Needs To Be Sharpened?
A drill bit is a pointed tool used to drill a straight hole in hard material. Bits need to be honed so they can easily cut through hardwood or metals.
Dull drill bits won’t do this, wasting resources and potential injuries. That’s why it’s essential to know how to sharpen drill bits by hand so they can perform their job effectively.
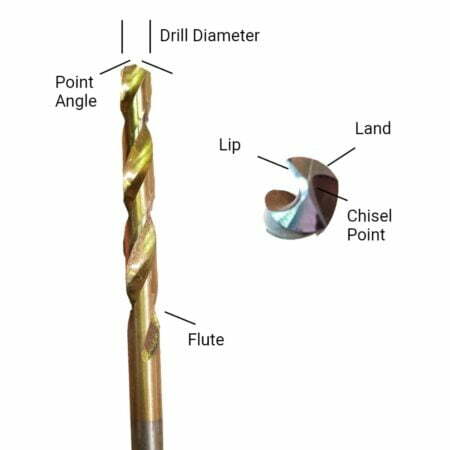
Drill Sharpening Angle
The angles at which you sharpen a drill bit are important; you need to establish what sort of bit you have. If not sharpened correctly, a twist bit can dull more quickly or get stuck in the material.
The optimal angle for sharpening a twist drill bit is 118°. For harder materials, a 135° angle provides a less aggressive and longer cutting edge. Masonry drill bits also require a green grit or diamond wheel.
An HSS drill bit may be sharpened with various methods, but the most popular method is using a grinding stone. This restores the angle back to 118° and makes the drill bit sharper and stronger. You can also use other tools we go over below.
It’s essential that drill bits are kept sharp to perform at peak efficiency. Choosing the correct sharpening angle and restoring it frequently will maximize efficiency!

Best Way To Sharpen Drill Bits
There are a couple of ways to hone drill bits: by hand or drill bit sharpener. Don’t forget before you start to put on your safety glasses. Gloves and a water container may also be necessary if a lot of work is involved because of heat build-up.
1: Prepare Your Bit For The Bench Grinder
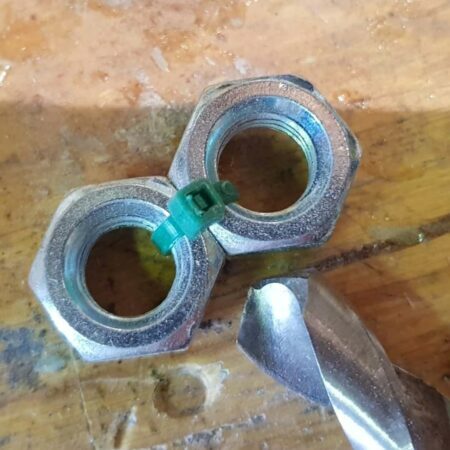
Preparation is needed before anything else. This means that you should remove any burrs or debris that may have accumulated on the cutting edge or flutes. You can do this with files or a grinding stone.
You must first examine the edges and determine how much metal needs to be removed for it to be sharpened. Different types of drill bits wear out at differing rates, so you must use the correct grade wheel for each type of bit.
Once you’ve determined how much needs to be removed, you can start the sharpening process. Use a coarse grinding wheel if the bit is dull or has a lot of nicks.
If it only needs touching up and has no nicks, then you can use a fine wheel instead. When you have finished grinding, smooth out any burrs with sandpaper so that the edges are nice and sharp.
2: Practice Holding the Bit
For hand sharpening drill bits successfully, you must be comfortable holding the shank. This means having a good grip on the bit and being in a stable position. It’s also important you use the correct technique when holding the bit.
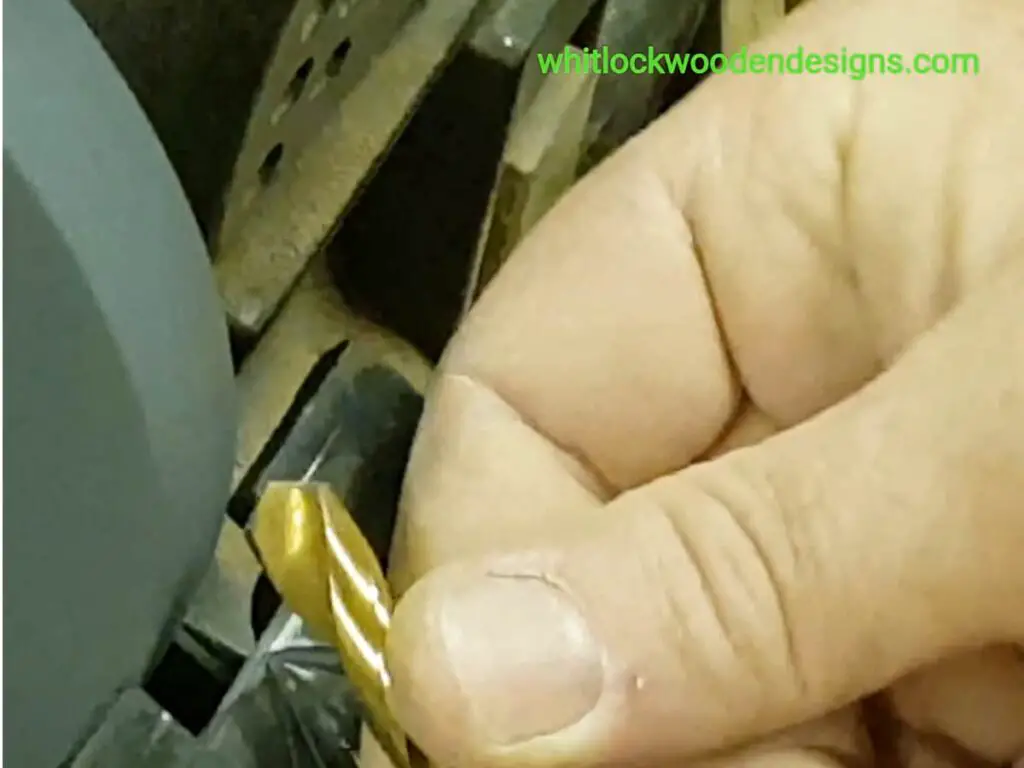
There are many ways to hold the bit, but the most common is to hold it between your thumb and the first two fingers. Get hold in a natural posture and have a good grip on the bit.
Turn on the grinder with the bits cutting edge facing down and at 60 degrees to the wheels. Grind away a little gradually until the chisel edge is sharp and true.
3: Cut the Landing
Now is the moment to cut the landing. Clamp the drill bit in a vice or hold it securely in your left hand. Start with the point angle of the bit facing up. With your dominant hand, use a file to improve the bit’s cutting edge.
File from top to bottom, moving across the entire length of the bit. You don’t have to apply much pressure – just enough to keep filling evenly. Don’t forget to do both sides of the bit.
4: Chisel Shaping
You have to sharpen the chisel now. Take your time and be careful because this is a crucial step in the process. You’ll want to make sure that the chisel is shaped into a point. This will help you get into tight spaces and make precision cuts.
Have all of your equipment handy, including gloves. It’s crucial to have a sturdy surface to work on, like an old wooden table.
5: Shape the Landing
Now that you have completed your task, form the landing. This is the last step; it is vital to do it correctly. The landings can make or break your project, so put the necessary effort into making it perfect.
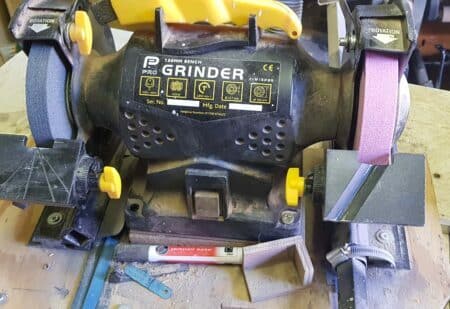
How to sharpen drill bits on a bench grinder?
One of the easiest ways to sharpen drill bits is with a bench grinder. This can be done with 1/8 to 3/4 inch drills. Small bits can be challenging, but it can be done. You want space to the sides to allow free arm movement.
Apply the drill bit against the wheel, regularly checking the angles. It’s pretty easy to touch up, but through time you might start to lose the contour. A bad grind gives poor performance and an oversize bore if the lips are of different lengths.
Bits can be expensive; you can save money by sharpening them regularly rather than replacing them. Sharpening a blunt drill bit with cheap workshop machines is simple as long as you use eye protection. When finished, try a test on a piece of scrap wood for performance.
Sharpening Drill Bits With A Hand File
There are a couple of ways you can sharpen drills with filing. The first is to hold the bit at a 45-degree angle and sharpen it like a knife. The other technique is to clamp the drill bit in a vice and use the tooling to sharpen it.
Whichever method you choose, ensure that you hold the handle at the correct angle while sharpening the drill bit. Also, be careful not to apply too much force while sharpening, as this can cut away too much material.
It may take longer than with a power tool, but it’s more practical for people out in the wild.
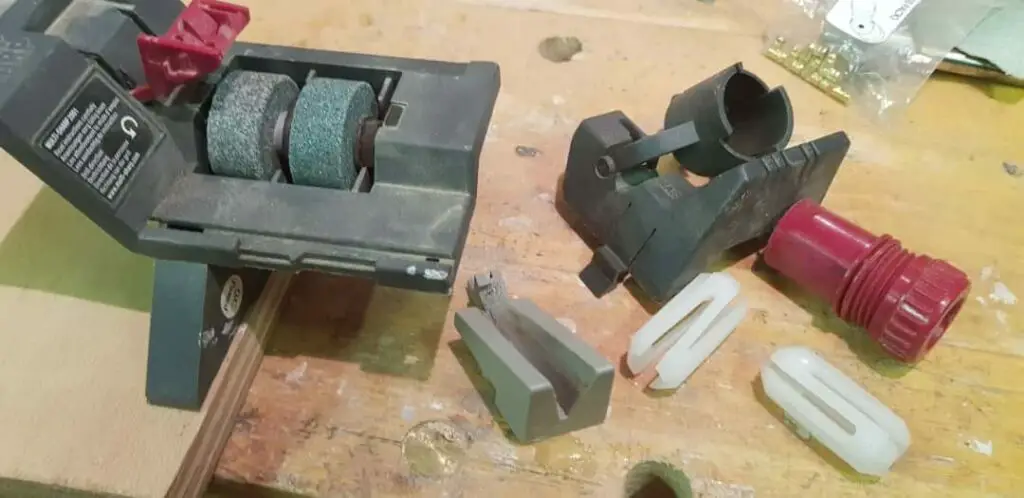
Drill Sharpener Jig
A drill sharpening jig is handy when you want an alternative to quickly touch up a drill bit. They can be purchased online or at your local hardware store and are straightforward to use.
Just clamp the jig down and fix the drill bit in place. Be sure to adjust the range of the tool rest for drilling through lumber or metal.
Grind the drill bit until it is sharp and then repeat on the other side. Be careful not to overheat the drill bit while working on it.
If you don’t have a grinding machine, there are also dedicated stand-alone jigs.


Advice On Maintaining the Sharpness Of Your Drills
It’s important to keep your drill bits sharp so that you can quickly drill holes. Here are a few pointers and strategies to help you out:
- Blow off the flakes and chips; this helps them stay clean and free of debris.
- Pull out the bit every inch or two while running it through the piece. This will help reduce heat build-up and remove the swarf, which can degrade the bit more quickly.
- If you run your drill while too hot, it will deteriorate much faster – so take regular breaks!
- Sharpen them more often if they get heated. This is especially important if you’re using them for concrete.
- Use the stop-and-cool technique to prevent wear. Every inch or two, stop and allow it to cool down before continuing.
- Maintain two sets of drills. A better set to start and an older, duller one to finish drilling once the bore is established. With this approach, you’ll always have a good bit available!
- Don’t leave them loose banging about in a draw; store them properly.
"I like to make things. I'm not a super handyman or anything, but I've always been interested in woodworking and other DIY projects. I find that if I have something in my hands, I can solve difficult problems better than if I am staring at a computer screen or reading about them on the internet." There is only so much furniture and art you can fit in a house, and giving to family and friends only lasts so long, so here we are with a crafts shop.
I enjoy writing about my projects and other topics related to crafting, like making something with your hands.
